|
David Deal was a cartoonist in the 1960’s with a passion for cars. His caricatures of the muscle cars and racing cars of that era became legendary. As a result, Revell released a series of models based on his cartoon depictions of many of the more famous autos of that time. Revell has re-released a few of these over the last couple of years, although all too few so far! I built these both for nostalgia and as a break from my regular aircraft modeling pursuits.
There are several common elements to building Deals Wheels kits. First, I learned how to re-chrome car parts with Alclad Chrome, and applied the following on all three builds. The chrome parts were cleaned up (burs removed) and then gloss coated with Model Master gloss black ENAMEL. Once it dried, the Alclad Chrome was misted on. It plates out as it builds up and reacts with the black enamel, providing a VERY nice scale chrome for model cars. All the chrome parts on all 3 build were redone in this manner.
|
Click on
images below to see larger images
|
|
|
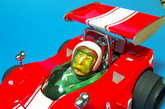
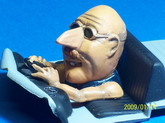
Another common element to all 3 is the “driver”. I actually had a LOT of fun in painting these “dudes”. Their size makes it easy to add shading and washes and detail to the eyes that help to bring them to life. Just remember that you want all skin and fabric areas to be as FLAT as possible.
The last common element to all of the Deals Wheels models is their oversize free-rolling tires. The raised lettering on all of them was done using a white ink gel pen. This is tedious as it takes a couple of passes to get the opacity needed, but I find it easier than trying to paint the lettering with a brush.
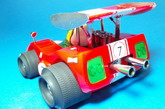
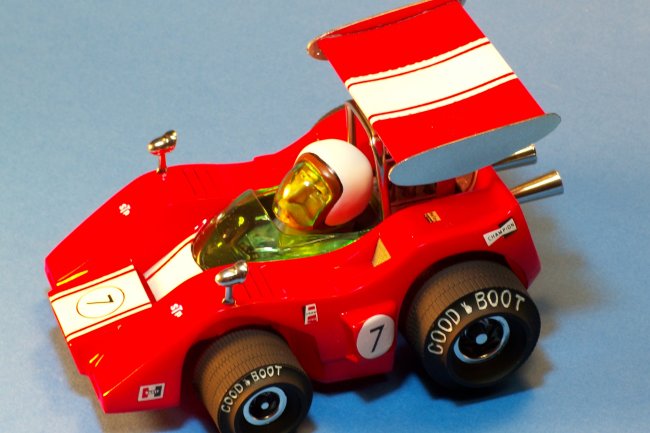
The first model built was the McLapper. It was built OOTB and sprayed with Tamiya rattle can red synthetic acrylic lacquer. The racing stripe was masked off, painted silver, and then Model Master gloss white was sprayed on. Future served as the overall gloss coat. The markings came from pinewood derby decal sets.
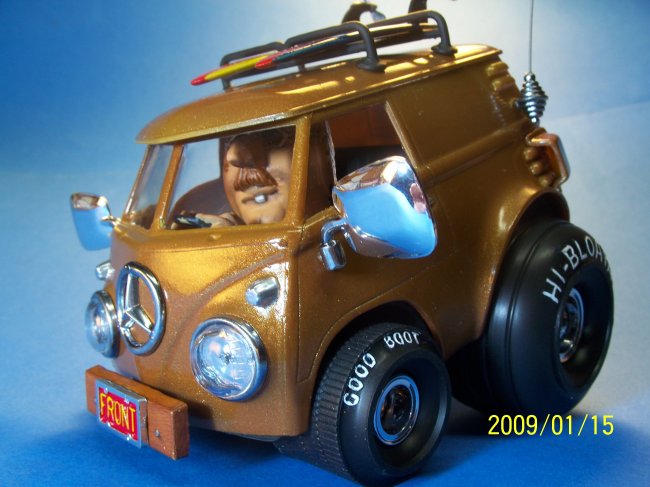
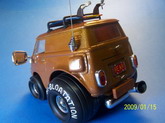
The VW Van was next on the bench, and started as a “quickie” build challenge. This was built in a total of about 20hrs over a two day period! The body was sprayed with fast drying Krylon Metalflake Gold. The wooden bumpers had graining added and the surfboards were given some “rad” striping.
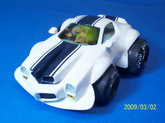
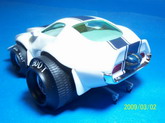
The last build was the Trans Um. It was sprayed with Krylon gloss white. I applied the kit decal racing stripe and then had everything “crack” on me after applying a lacquer clear gloss (which had worked fine over the gold). That meant I had to strip the body, repaint the white, paint the blue racing stripe, and then gloss it all with Future to prevent another disaster. Actual screening in the grill was added as a finishing touch to an otherwise OOTB model.
I found all three of these models to be great fun! They allowed me to relax and “build for the FUN of it”; without research or consideration of “accuracy”. It taught me a way to do quick gloss finishes that do well for my shelf (but are lacking for competition purposes).. I leaned how to chrome car parts, which is needed on any car build! It allowed me to practice some figure modeling without worrying about realism. But more importantly, it allowed me to regress to my teenage years for a short time! Cheers!
Gil Hodges
|
Click on
images below to see larger images
|
|
|
|
|
|