1/32 Airfix Aston Martin DBR9 |
||
|
||
1/32 Airfix Aston Martin DBR9 |
||
|
||
|
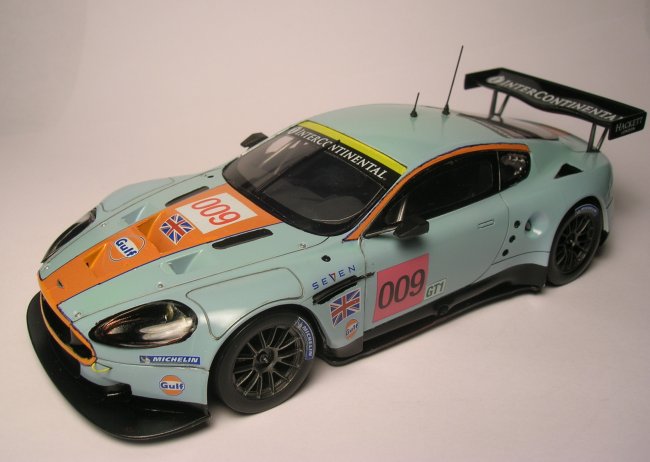
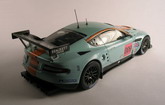
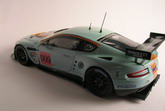
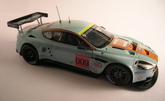
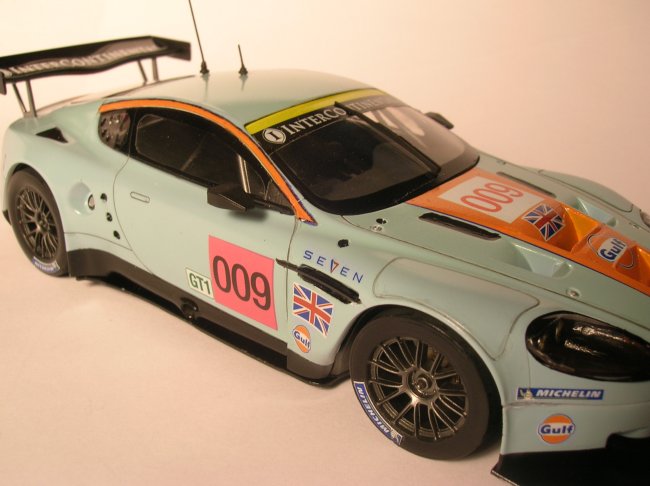
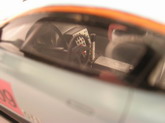
This is the Airfix kit of the Aston Martin DBR9. It is in the unusual (for cars anyway) scale of 1/32, which makes it pretty small compared to what a car modeler is used to working with. The real car made its racing debut in 2005 at the 24 hours of Le Mans. I am not sure which year the kit decals represent, but the closest I could find would be from a 2008 car. The kit itself is really good and only presents a couple of problems during construction. Final assembly was made difficult by the front clip/bumper not fitting very well with the rest of the body.
Aside from minimal fit issues, the only other odd thing I noticed about the kit were the use of wheels and tires molded as one piece, and in plastic. It reminded me of a 1/35 scale armor kit. The worst feature of the kit, by far, is the decals. They were horrendous. They did not respond to the strongest setting solution I had, nor did they cooperate when I attempted to coerce them into place with a hair dryer. I ended up having to paint the "mouth" on the front of the car and draw in the blue pinstripes around that and the flashes above the doors. There were also several decals that seemed to be missing from the sheet, although that could be attributed to the use of a prototype or early version by the kit researchers.
I built my Aston almost right from the box; I replaced the clunky kit roof antennae with some wire and added some tow hooks that were scavanged from a 1/72 F-15 photoetch set. The blue paint is Humbrol enamel, which is called for in the instructions, and Tamiya X-6 acrylic for the orange. I used Alclad for the wheel centers and the interior. Aside from the decals, the kit was a pleasure to build. It was well detailed and a quick build, too. As far as I know, it is the only DBR9 in plastic. If an aftermarket company would produce some other liveries, or at least better decals, it would be perfect. Jon Grafton
|
|
Photos and text © by Jon Grafton